
Microsoft Edgeでサーバーからのレスポンスの内容を確認するのに使用されるツールとしてBoomerangがあります。
Boomerangのインストールや使用方法をご説明します。
エンジニアとして働くための実践力を高めたいならRUNTEQがオススメです。
Web系エンジニアを目指す方は一度無料キャリア相談会にご参加ください!
RUNTEQ(ランテック) – 実践型Webエンジニア養成プログラミングスクール
相談会の参加を悩んでいる方はRUNTEQの運営会社の代表取締役 菊本 久寿さんの著書
「エンジニア×スタートアップ」こそ、最高のキャリアである を一度よんでください。
参加したくなること間違いなしです!
読む時間がない方は以下の書籍紹介の記事をごらんください。

目次
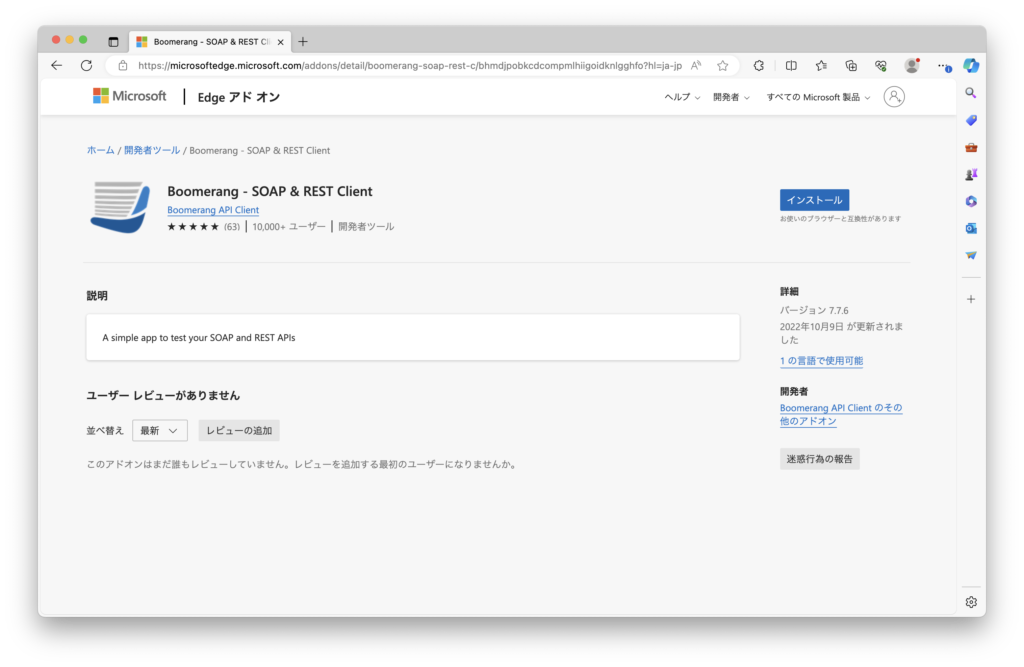
Boomerangとは?
A simple app to test your SOAP and REST APIs
https://microsoftedge.microsoft.com/addons/detail/boomerang-soap-rest-c/bhmdjpobkcdcompmlhiigoidknlgghfo?hl=ja-jp
公式ページに記載された内容の通り、
SOAPやREST APIをテストするための(アドオン)ツールです。
Boomerangの追加
以下からはMacの画面での説明になります。
Edgeのインストール
BoomerangはEdgeのアドオンツールなのでまずはEdgeをインストールします。
※インストール済みの方は飛ばしてください。

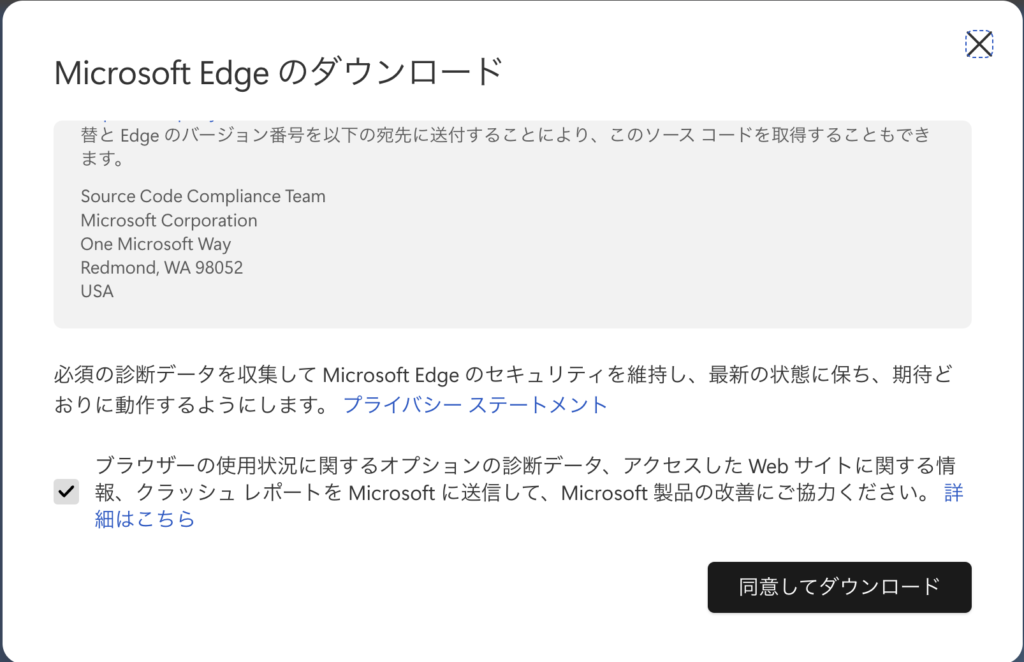
同意してダウンロードを選択します。
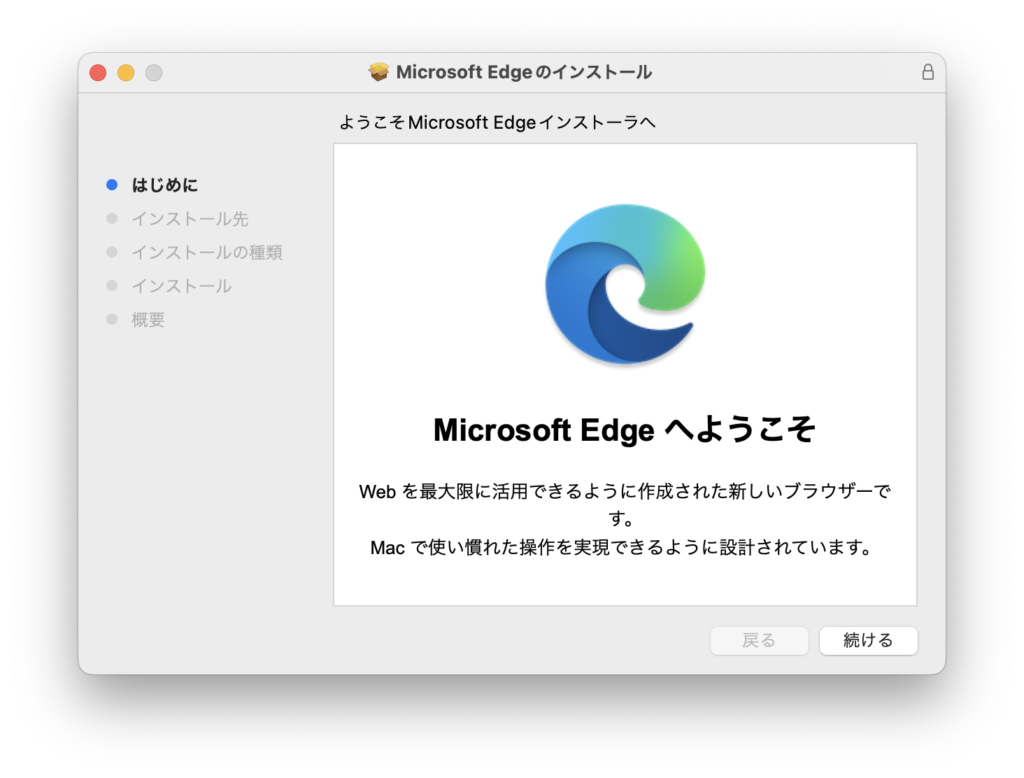
ダウンロードされたインストーラ(pkgファイル)をダブルクリックするとインストール画面が立ち上がりますので、続けるを選択します。
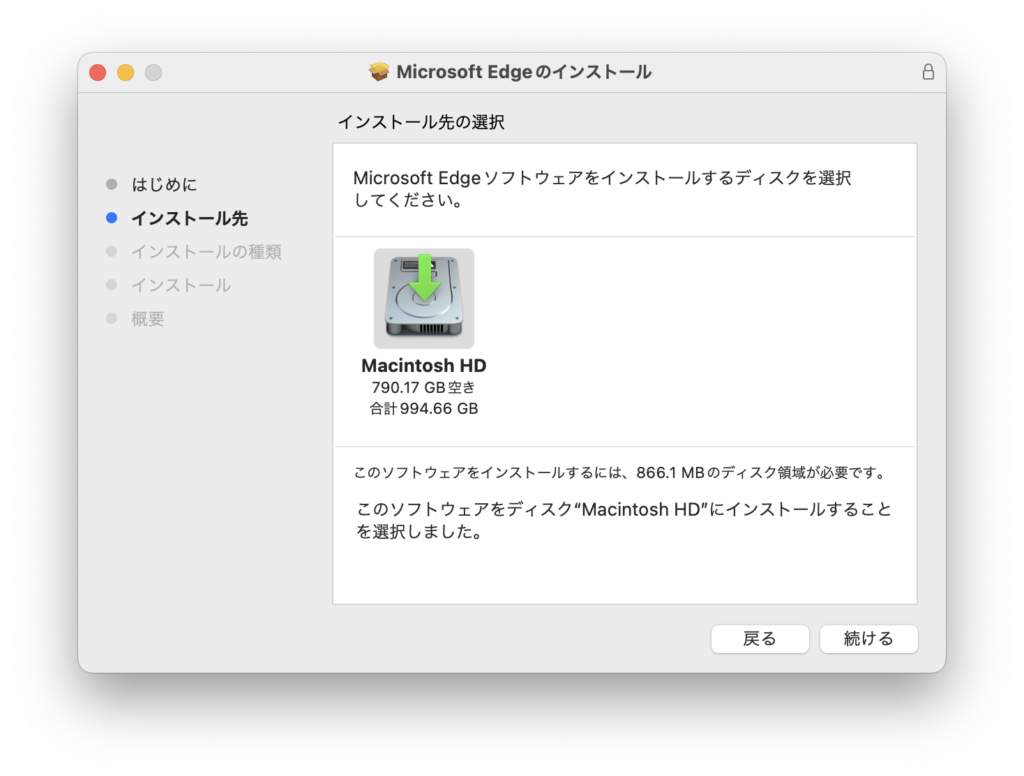
続けるを選択します。
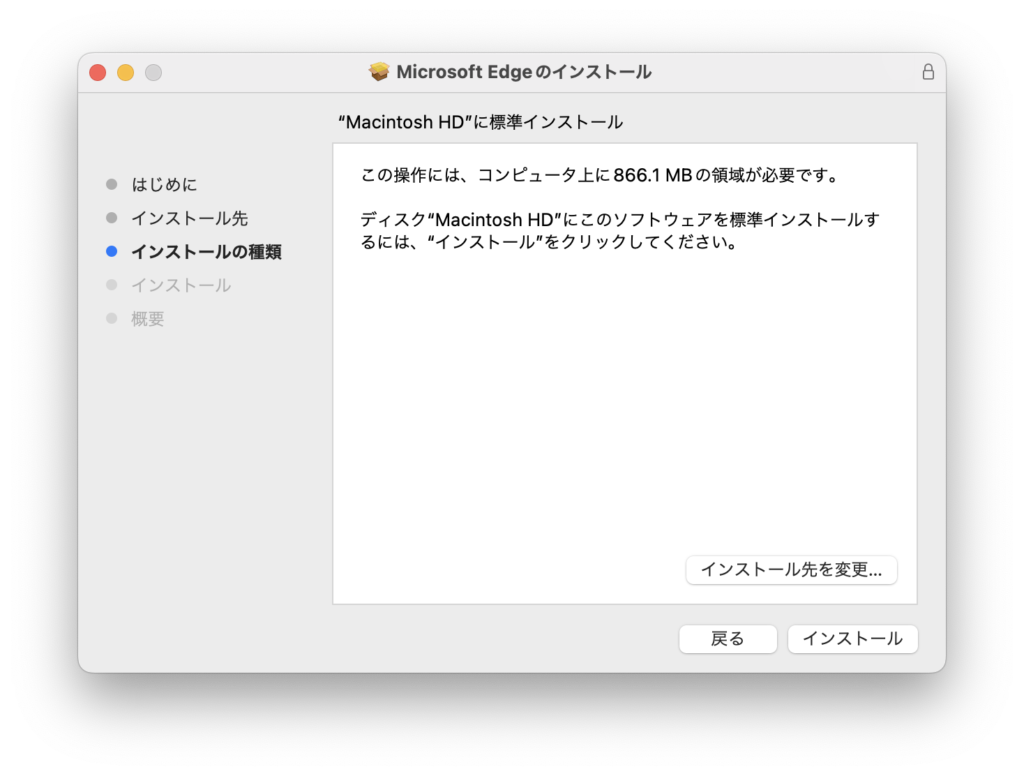
インストールを選択します。
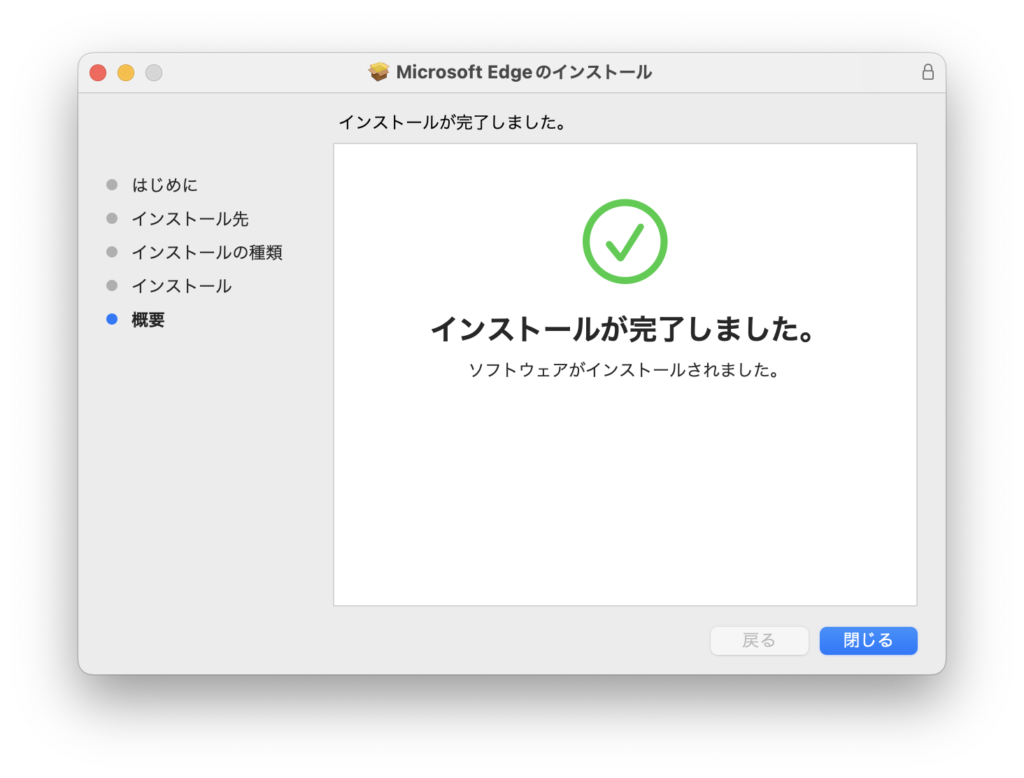
閉じるを選択します。
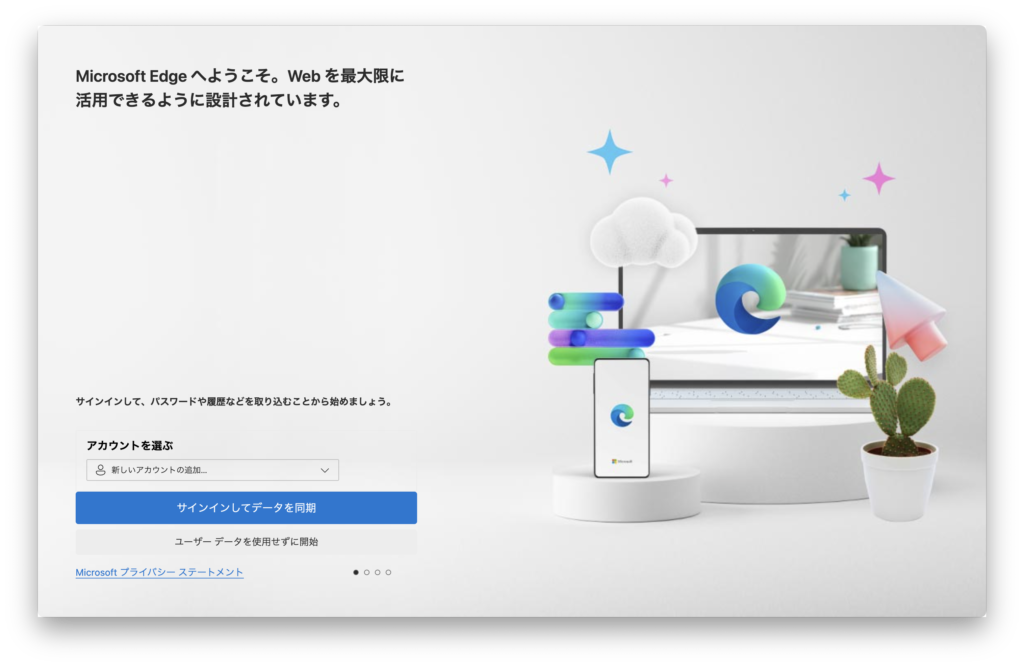
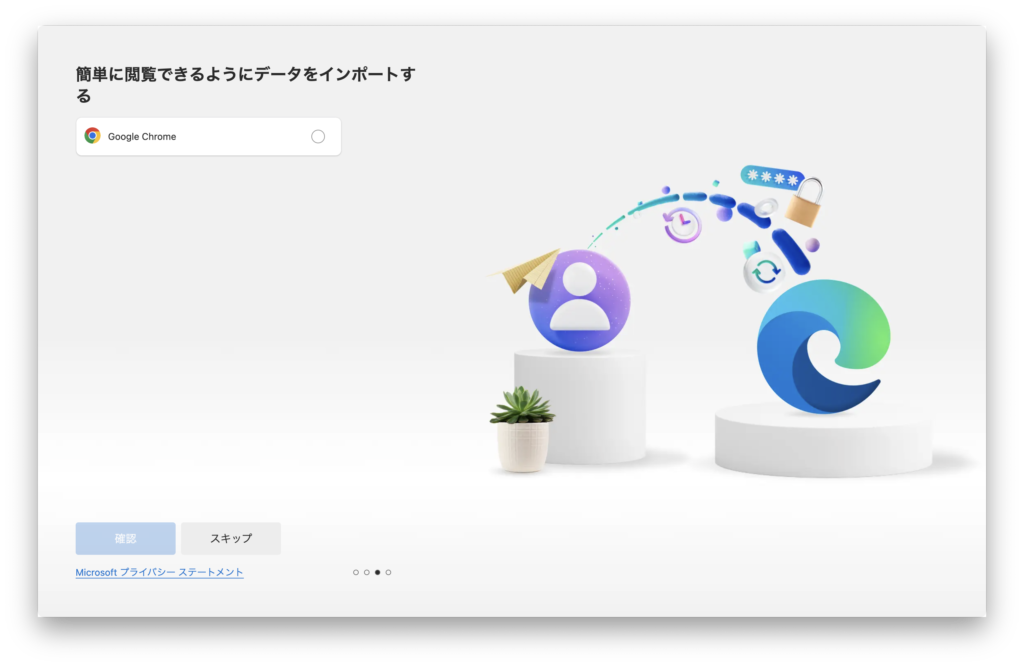
Edgeが立ち上がります。今回はBoomerangを使用するためだけに使用するのでユーザーデータを使用せずに開始を選択します。
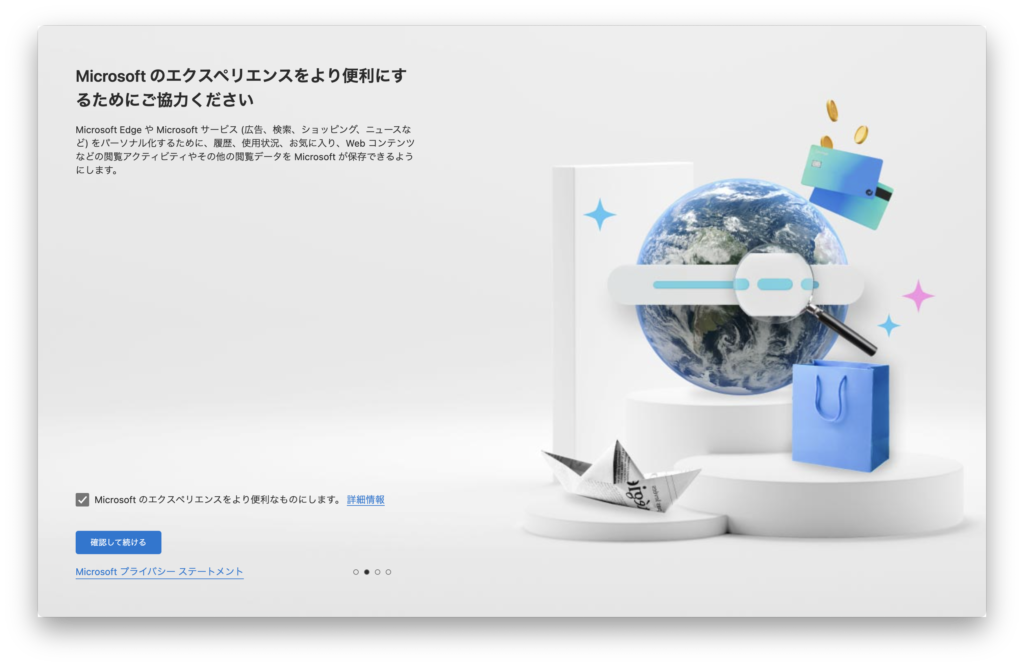
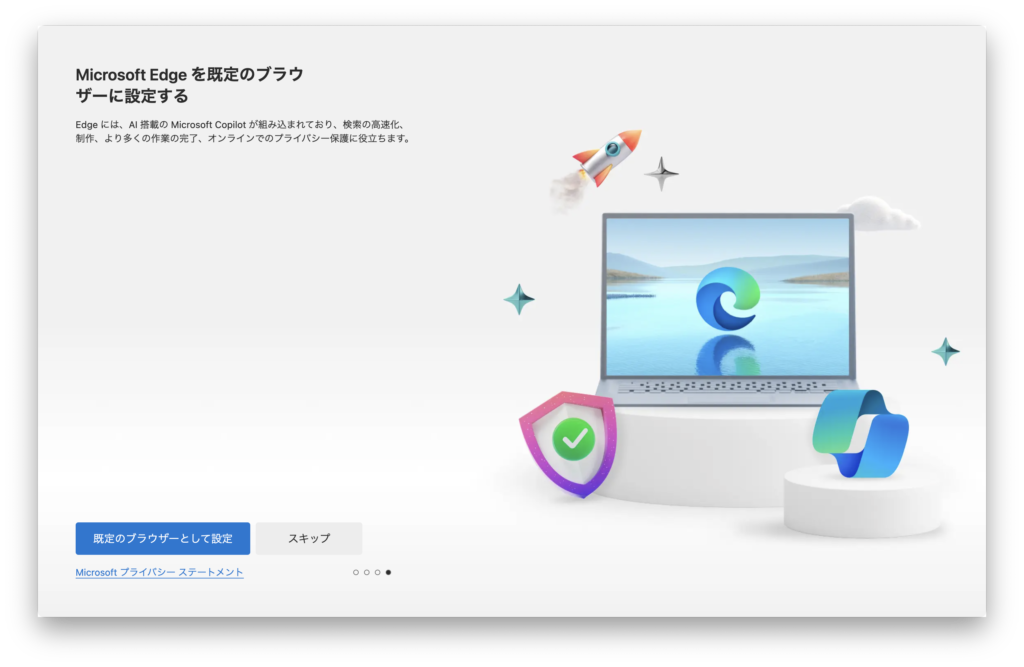
確認して続けるを選択します。
スキップを選択します。
スキップを選択します。
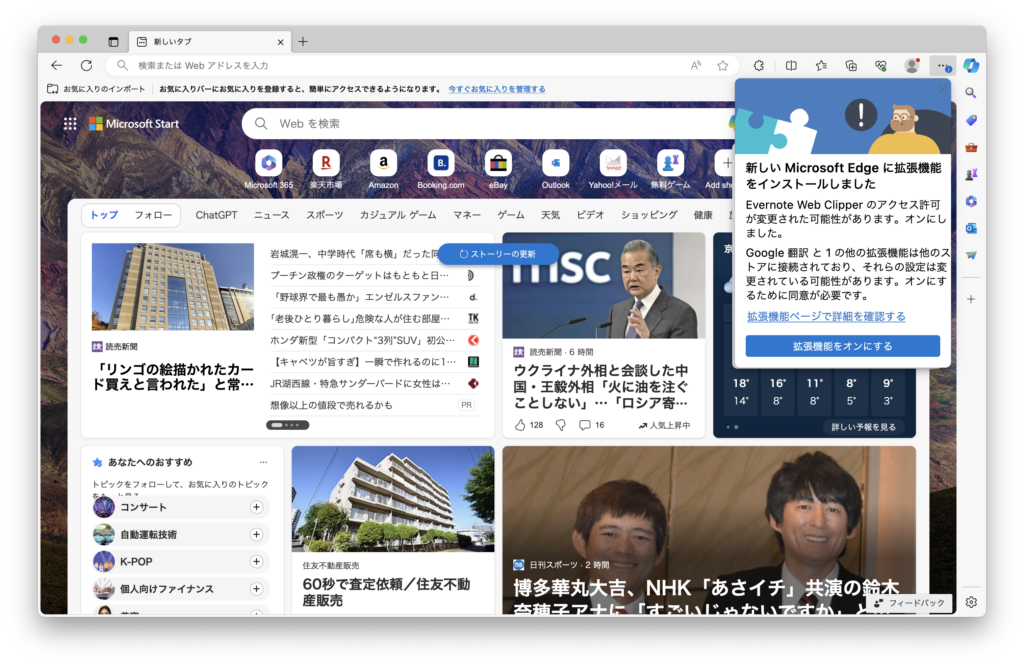
Edgeを利用開始できます。
Boomerangの追加
EdgeでBoomerangのインストールサイトにアクセスします。

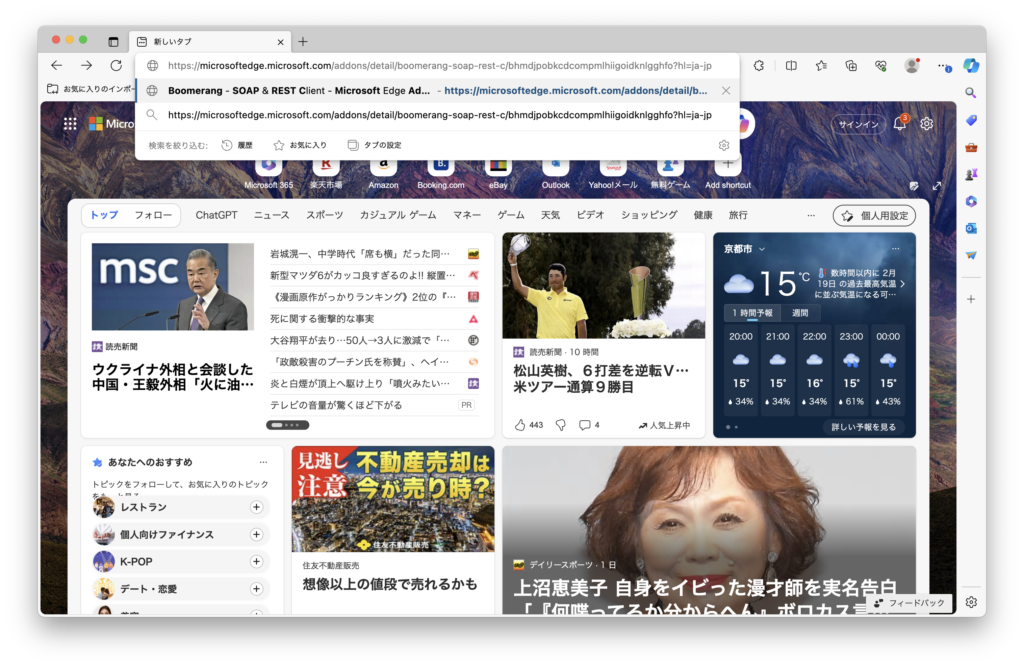
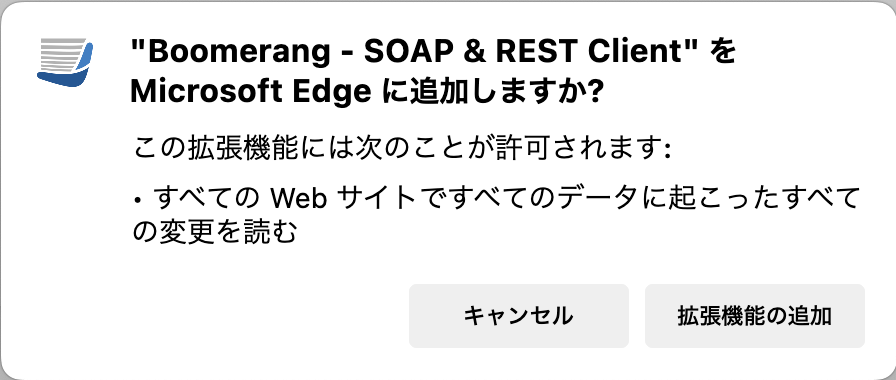
インストールボタンを選択します。
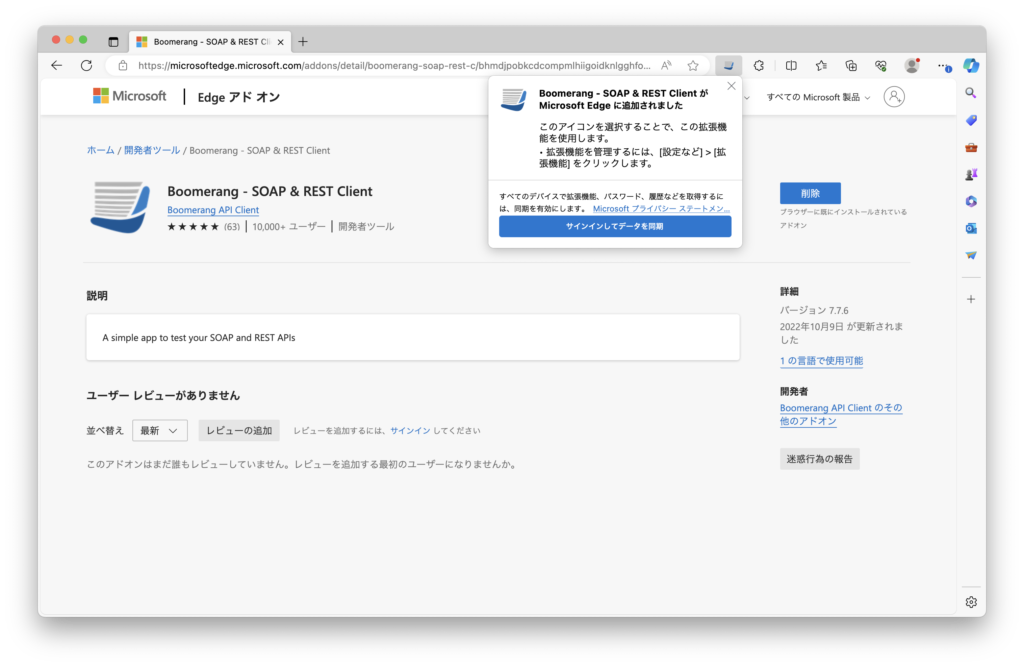
拡張機能の追加を選択します。
Boomerangが追加されたことがわかります。
Boomerangを選択します。
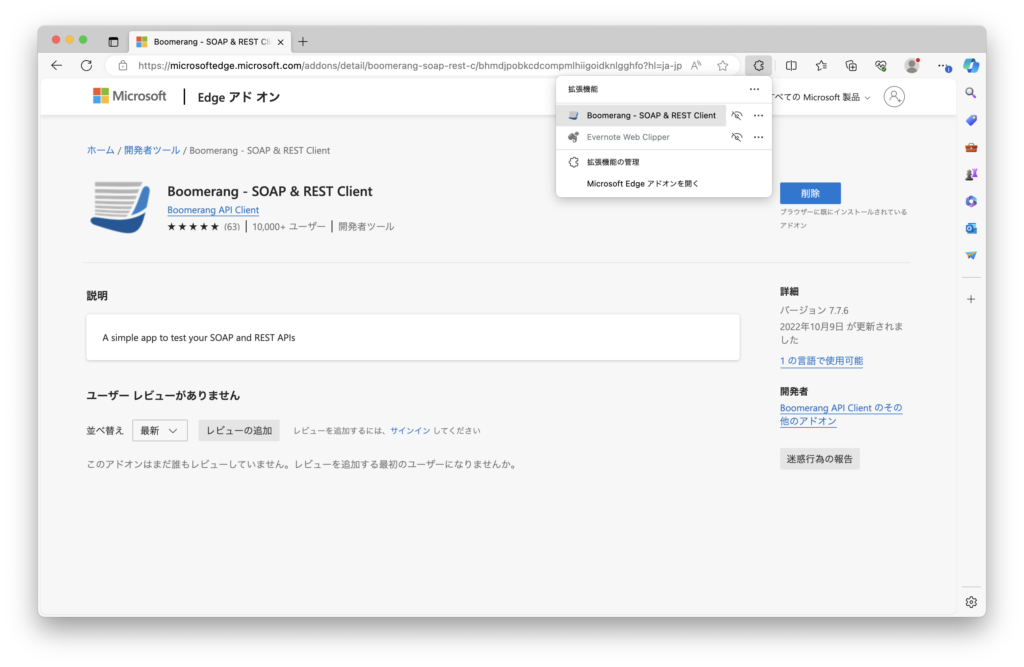
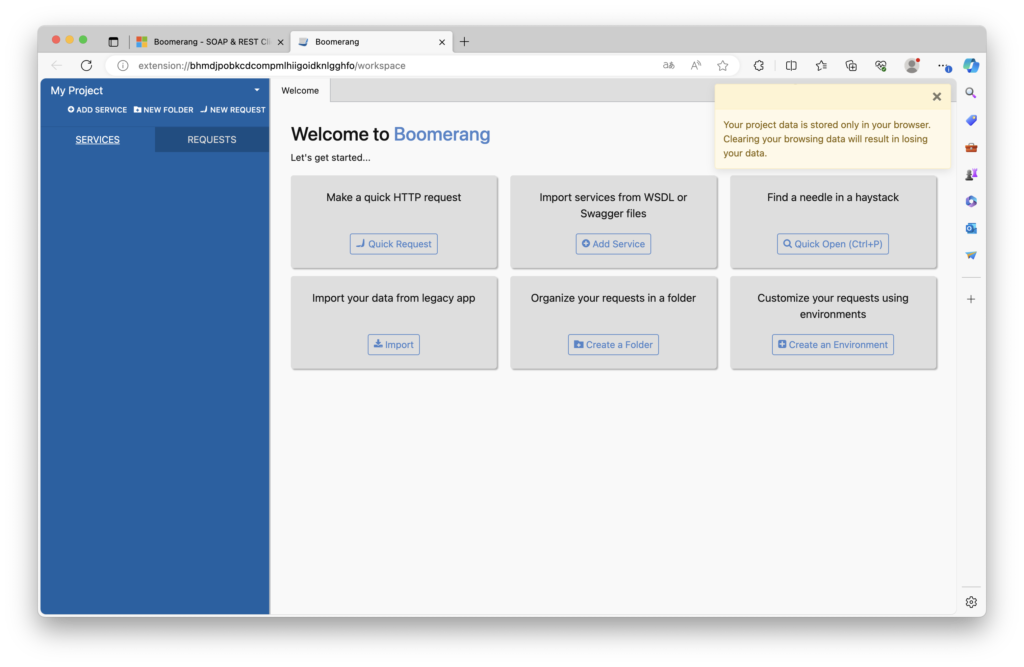
EdgeでBoomerangが起動します。
Boomerangを使ったAPIの呼び出し方
今回はYoutube Data APIから動画のリストを取得します。
Youtube Data APIを利用するための準備
Youtube Data APIの有効化
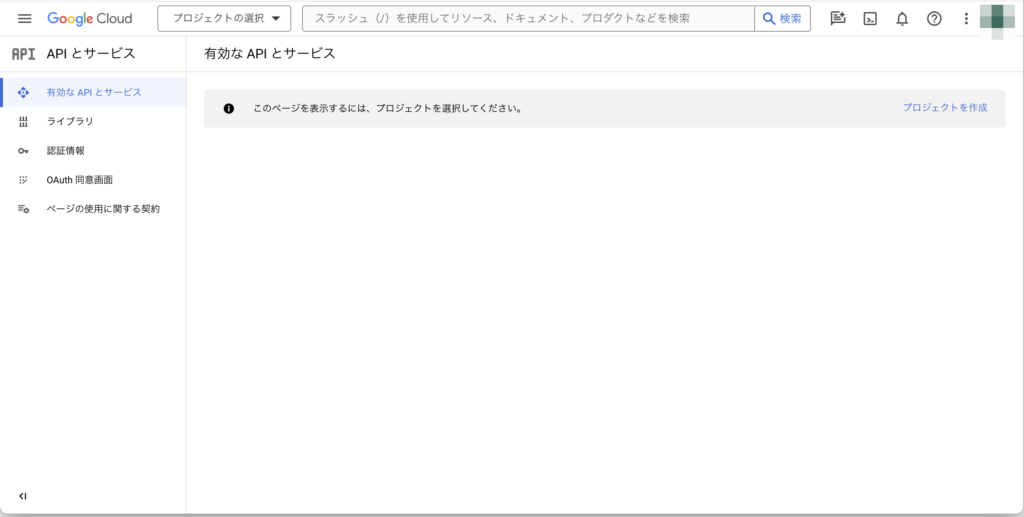
Googleアカウントを使用してGoogle Cloud Platformにアクセスします。

※Googleアカウントが必要です。
プロジェクトを作成を選択します。
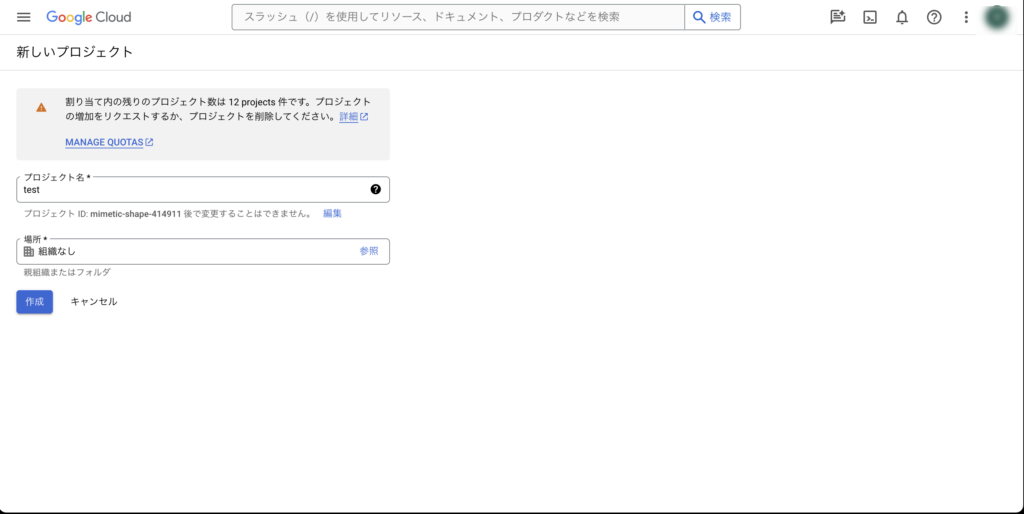
プロジェクト名に任意の名前を指定し、場所には組織なしを選択します。
作成ボタンを選択します。
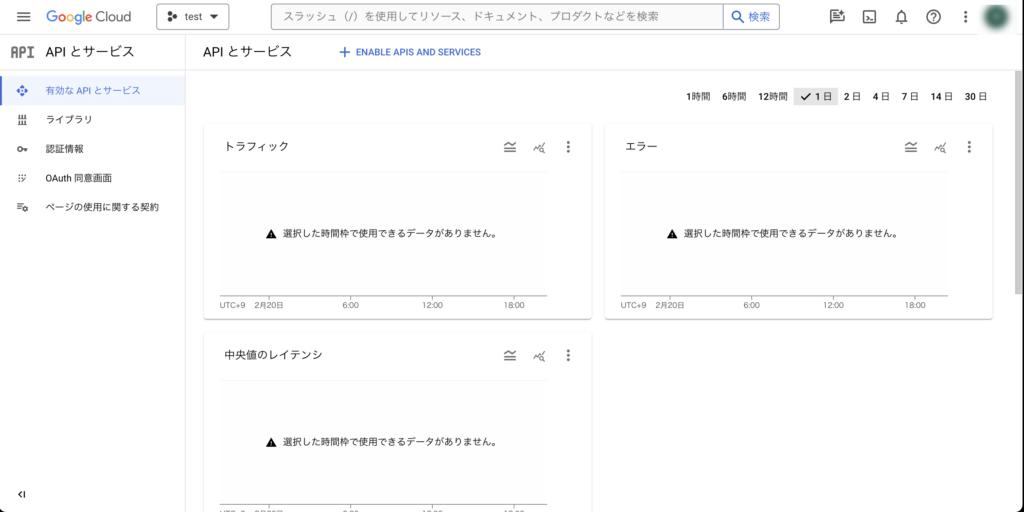
ENABLE APIS AND SERVICESを選択します。
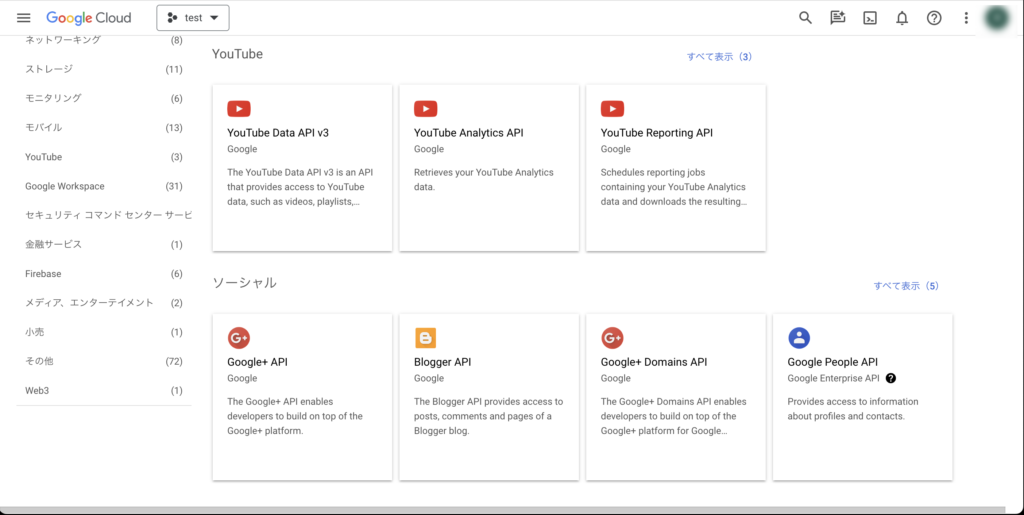
YouTube Data API v3を選択します。
有効にするボタンを選択します。
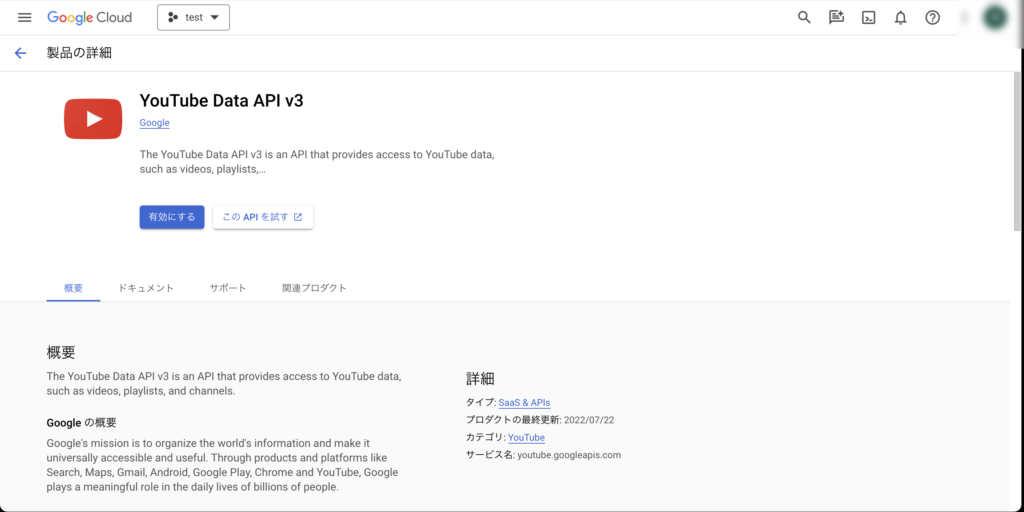
有効化されたされたことが確認できます。

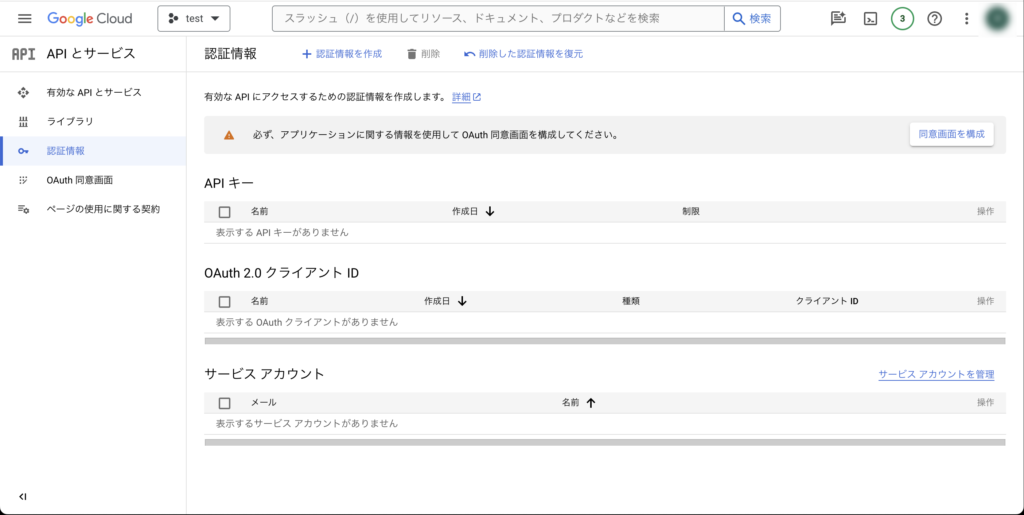
APIキーの作成
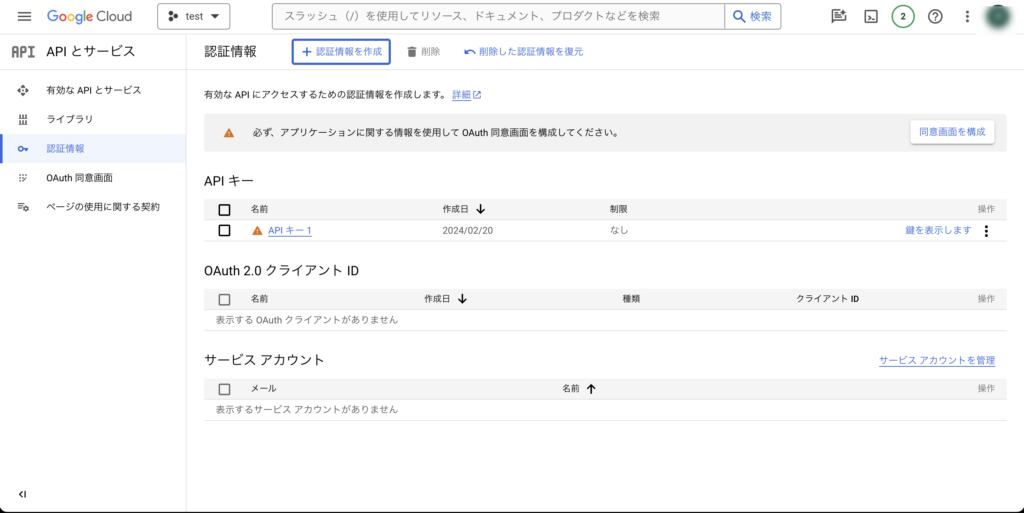
認証情報タブを選択します。
認証情報を作成のAPIキーを選択します。
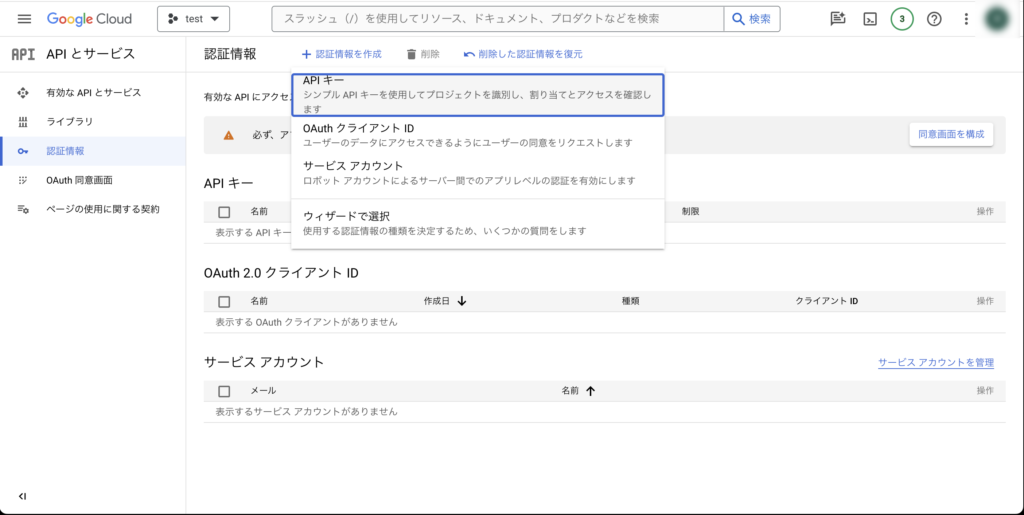
APIキーが作成されます。
実際にAPIにアクセスする際にkey=API_KEYの形でクエリパラメータとして使用します。
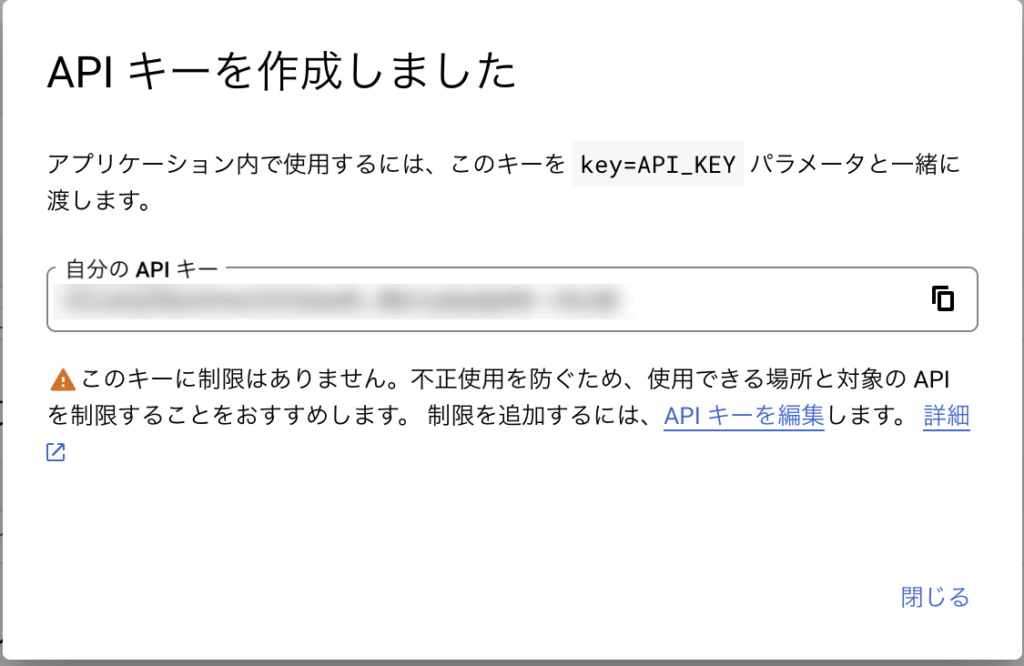
APIキーが作成されていることが確認できます。
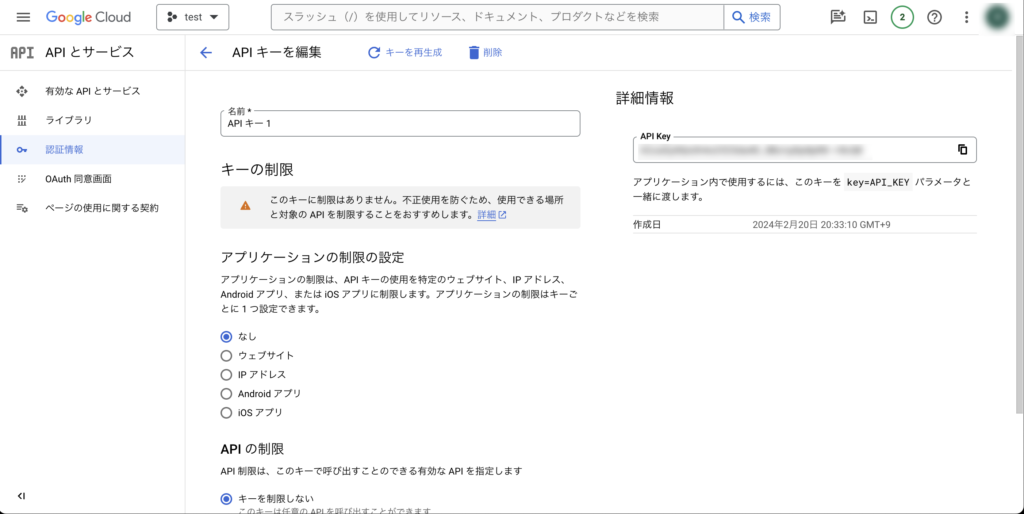
作成したAPIキーを選択しAPI Keyの値をコピーします。
BoomerangからYoutube Data APIへのアクセス
Edgeに追加したBoomerangを起動しMake a quick HTTP requestのQuick Requestを選択します。
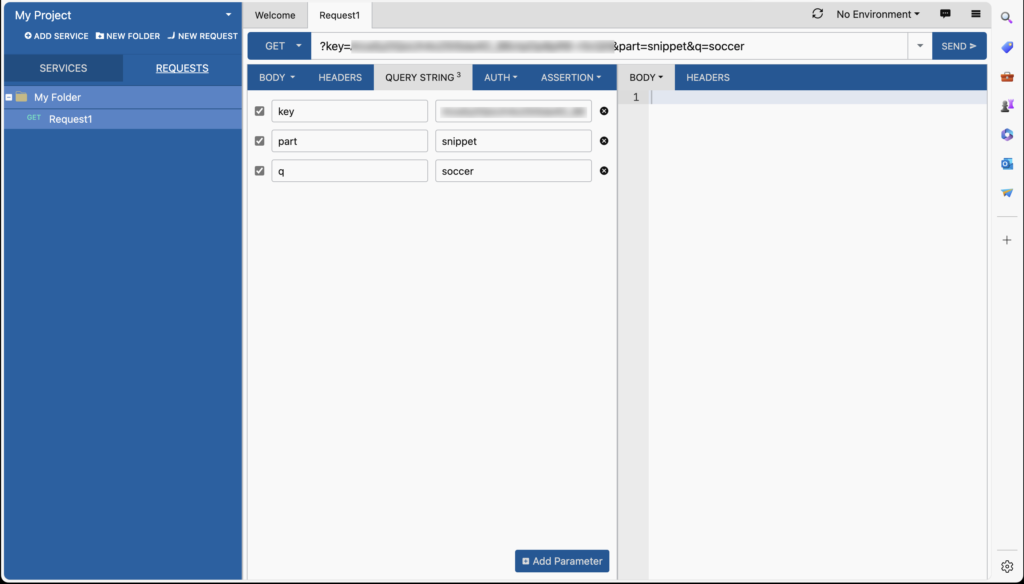
リクエストを入力する画面が表示されます。
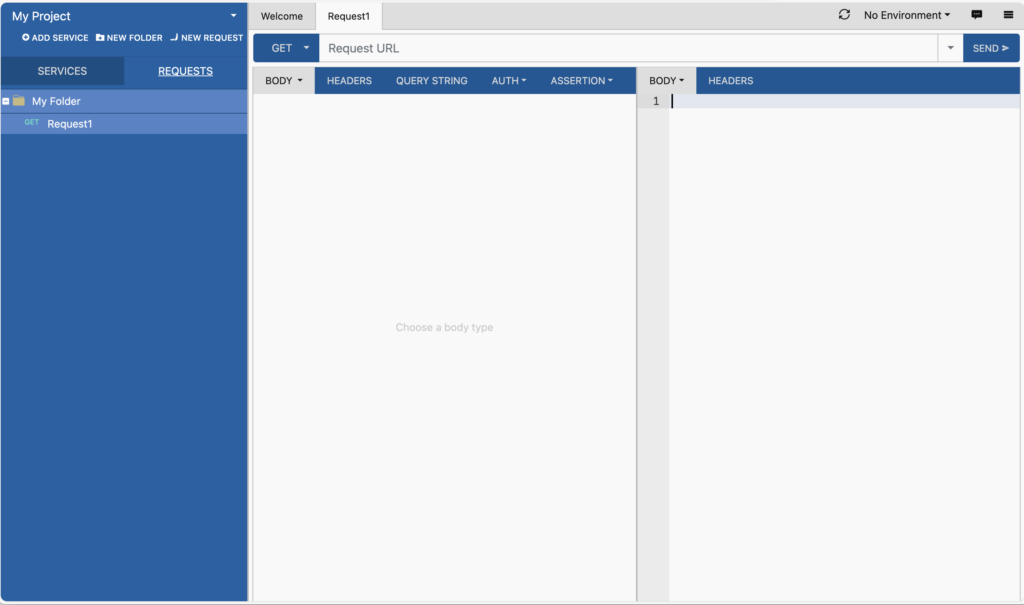
Request URLにhttps://www.googleapis.com/youtube/v3/search を貼り付けます。

QUERY STRINGのName, Valueに以下の組み合わせを入力します。
(Name, Value) = (key, 作成したAPIキーの値), (part, snippet), (q, 検索文字列)
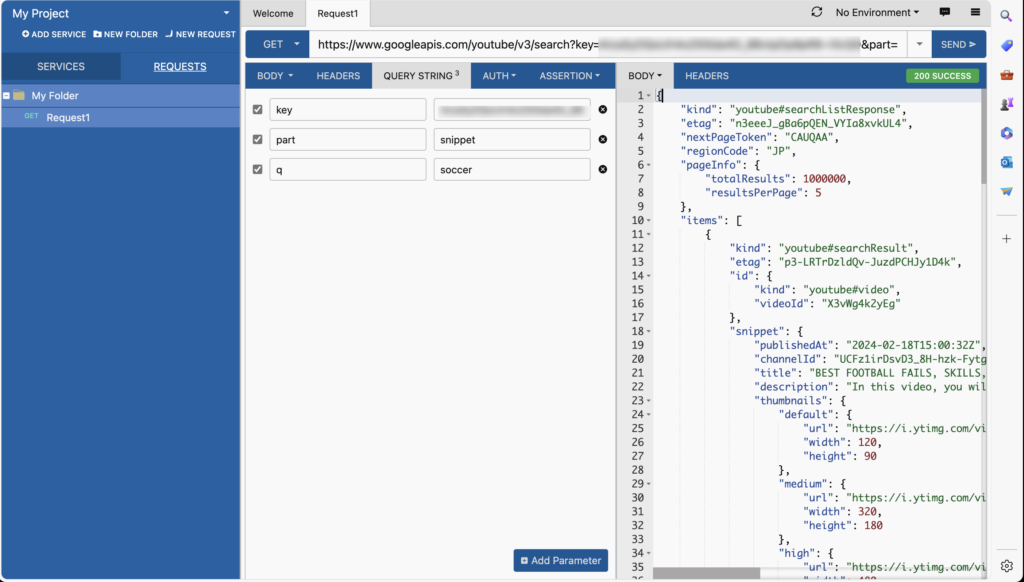
SENDボタンを選択するとレスポンスが画面右側に表示されます。
まとめ
Boomerangの具体的なインストール方法や使用方法をご紹介しました。
少しでもみなさんの参考になれば幸いです!